Selenium Certification Training Course
- 46k Enrolled Learners
- Weekend/Weekday
- Live Class
We often come across scenarios while testing where we have to upload a file. For different UI there are different ways to upload a file. Following pointers will be covered in this Uploading a FIle using Selenium article:
Moving on with this article on Uploading a file using Selenium
Uploading a file while automating test scripts is no more a challenge. In this tutorial I will be discussing about the most easiest way of uploading a file using Selenium. In this, we will be using “Sendkeys” to upload the file. A better understanding about Selenium testing can be acquired through Selenium Certification.
Before diving into further details let’s take an example and learn how we can upload a file while automating our scripts using Selenium.

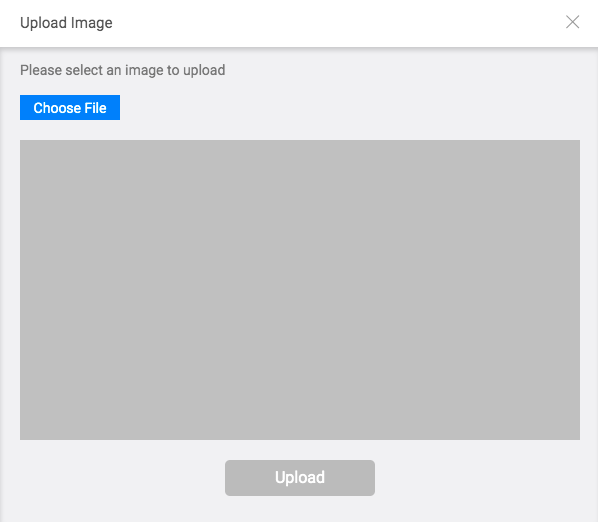
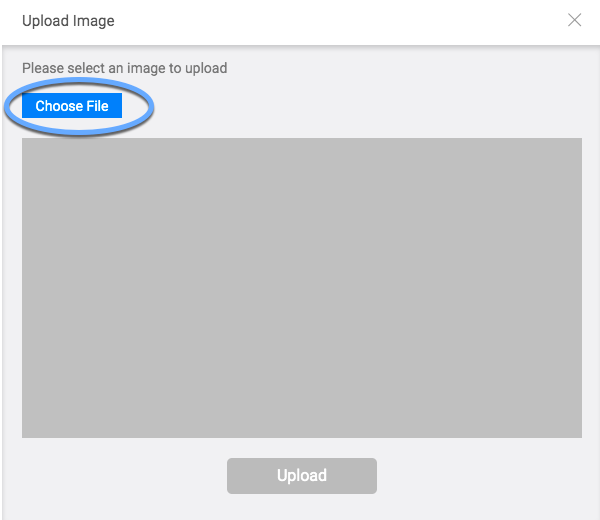
In the above image you can see three things:
Choose File Button: On clicking this button we can choose the file we wish to upload from our machine.
Input type: The Input type of the Choose File button in the above image is of file type.
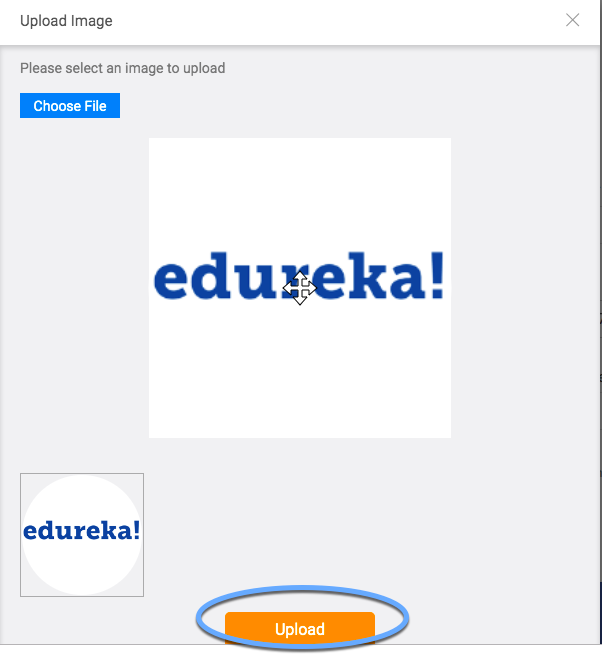
Upload Button: On clicking, this button upload function is performed.
Note: I would be using an example of edureka where we can upload our image by editing personal details. For this, I need to first login using edureka account. To login, I will be using my username and password, I request you to use yours to practice for the same.
Alternatively, you can check out the Automation Testing Course by Edureka and get certified!
Let’s move forward step by step.
Example
System.setProperty(“webdriver.chrome.driver”,”/Users/ankita/Downloads/chromedriver”);
Example:
WebDriver driver = new ChromeDriver(options);
Example:
driver.get("https://www.edureka.co/");
driver.findElement(By.linkText("Log In")).click();
driver.findElement(By.id("si_popup_email")).sendKeys("username");
driver.findElement(By.id("si_popup_passwd")).sendKeys("password");
driver.findElement(By.xpath("//*[@id=\"new_sign_up_mode\"]/div/div/div[2]/div[3]/form/button")).click();

On clicking on the highlighted icon above, you will be navigated to the image upload page.
driver.get("https://learning.edureka.co/onboarding/personaldetails");
driver.findElement(By.xpath("//*[@id=\"collapseOne\"]/div/div/div[2]/a/i")).click();

Example:
WebElement chooseFile = driver.findElement(By.id("custom-input"));
chooseFile.sendKeys("/Users/ankita/Downloads/edureka.png");
NOTE: If you click on the choose file button, then you will be taken to your machine window to select a file and then you will not be able to select a file using selenium. Hence, you will have to take the help of third tool i.e. either AutoIT or Sikuli.
We will be discussing about them in detail in our other tutorials.

Now, click the upload button:
Example:
driver.findElement(By.cssSelector(“div[class=’submitbtnsec’] > button[type=’submit’]”)).click();
With this uploading of file is done and now the new uploaded image will be seen in your personal details.
Moving on with this article on Uploading a file using Selenium
Below is the script to perform the above-mentioned steps in Selenium using Java
import java.util.concurrent.TimeUnit;
import org.openqa.selenium.By;
import org.openqa.selenium.WebDriver;
import org.openqa.selenium.WebElement;
import org.openqa.selenium.chrome.ChromeDriver;
import org.openqa.selenium.chrome.ChromeOptions;
import org.openqa.selenium.support.ui.ExpectedConditions;
import org.openqa.selenium.support.ui.WebDriverWait;

public class EdurekaUploadTest {

public static void main(String[] args) throws InterruptedException {

System.setProperty("webdriver.chrome.driver","/Users/ankita/Downloads/chromedriver");
WebDriver driver = new ChromeDriver(options);
driver.get("https://www.edureka.co/");

WebDriverWait wait = new WebDriverWait(driver, 10);
wait.until(ExpectedConditions.visibilityOf(driver.findElement(By.linkText("Log In"))));
driver.findElement(By.linkText("Log In")).click();
driver.manage().timeouts().implicitlyWait(100, TimeUnit.SECONDS);
wait.until(ExpectedConditions.visibilityOf(driver.findElement(By.id("si_popup_email"))));
driver.findElement(By.id("si_popup_email")).sendKeys("username");
driver.findElement(By.id("si_popup_passwd")).sendKeys("password");

driver.findElement(By.xpath("//*[@id=\"new_sign_up_mode\"]/div/div/div[2]/div[3]/form/button")).click();

Thread.sleep(2000);
driver.get("https://learning.edureka.co/onboarding/personaldetails");
Thread.sleep(1000);

WebElement imageEdit = driver.findElement(By.xpath("//*[@id=\"collapseOne\"]/div/div/div[2]/a/i"));

imageEdit.click();
Thread.sleep(1000);
WebElement chooseFile = driver.findElement(By.id("custom-input"));
chooseFile.sendKeys("/Users/ankita/Downloads/edureka.png");
Thread.sleep(1000);
driver.findElement(By.cssSelector("div[class='submitbtnsec'] > button[type='submit']")).click();

}

}
With this, we come to an end of this Uploading a File Using Selenium article. In this tutorial, we have learned about how to upload a file using “Sendkeys” in selenium. The major drawback with this approach is that we can use sendkeys only when the type of the input is of file type or there is an editable text box along with the browse button. In such a case, we can give the absolute path of the file instead of clicking the button provided to choose a file from the machine.
If you wish to learn Selenium and build a career in the testing domain, then check out our interactive, live-online Selenium Training in Bangalore, which comes with 24*7 support to guide you throughout your learning period.
| Course Name | Date | |
|---|---|---|
| Selenium Certification Training Course | Class Starts on 30th January,2023 30th January MON-FRI (Weekday Batch) | View Details |
| Selenium Certification Training Course | Class Starts on 13th February,2023 13th February MON-FRI (Weekday Batch) | View Details |
| Selenium Certification Training Course | Class Starts on 25th February,2023 25th February SAT&SUN (Weekend Batch) | View Details |
 REGISTER FOR FREE WEBINAR
  Thank you for registering Join Edureka Meetup community for 100+ Free Webinars each month JOIN MEETUP GROUP
edureka.co
